

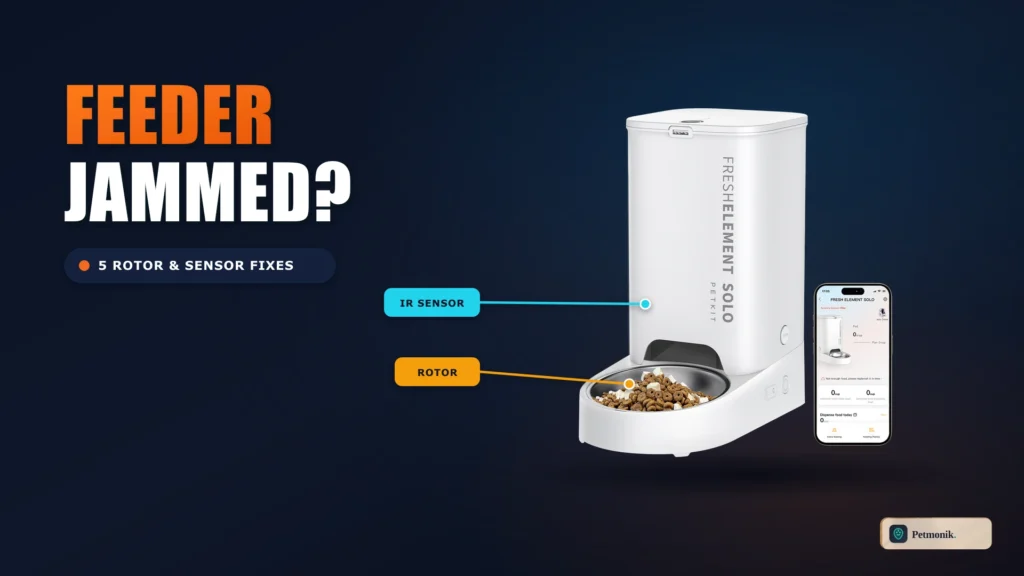
It is 6:30 a.m., and your phone buzzes with an urgent notification from your pet feeder app: “Dispensing Blocked,” “Rotor Stuck,” or “Motor Overcurrent.” You walk into the kitchen to find a hungry pet waiting beside an empty bowl, while the feeder’s internal motor strains briefly before going silent. When an automated dispenser fails to deliver breakfast on schedule, finding a permanent automatic pet feeder jamming fix becomes your top priority.
While many pet owners assume a jammed dispenser indicates a dead motor or defective firmware, laboratory teardowns reveal that over 90% of feeder stalls stem from mechanical friction. Commercial dry food presents unique granular challenges—particle geometry, friction coefficients, and rendered animal fat residue—that frequently collide with the tight engineering tolerances of automated dispensing bays. In this engineering breakdown, we explore why smart feeders jam, how kibble geometry creates structural bridges, why invisible oil films trigger phantom errors, and the exact step-by-step diagnostic protocol to keep meals dispensing reliably.
Table of Contents
Anatomy of a Smart Feeder Dispensing Assembly
To implement an effective automatic pet feeder jamming fix on popular models from Petlibro, PETKIT, Whisker, and Catit, you must understand the electromechanical pathway dry food travels through inside modern dispensers:
- Hopper Throat and Baffle: The upper reservoir funnels kibble downward. A static baffle regulates gravity head-pressure so the weight of stored food does not crush directly onto the rotor below.
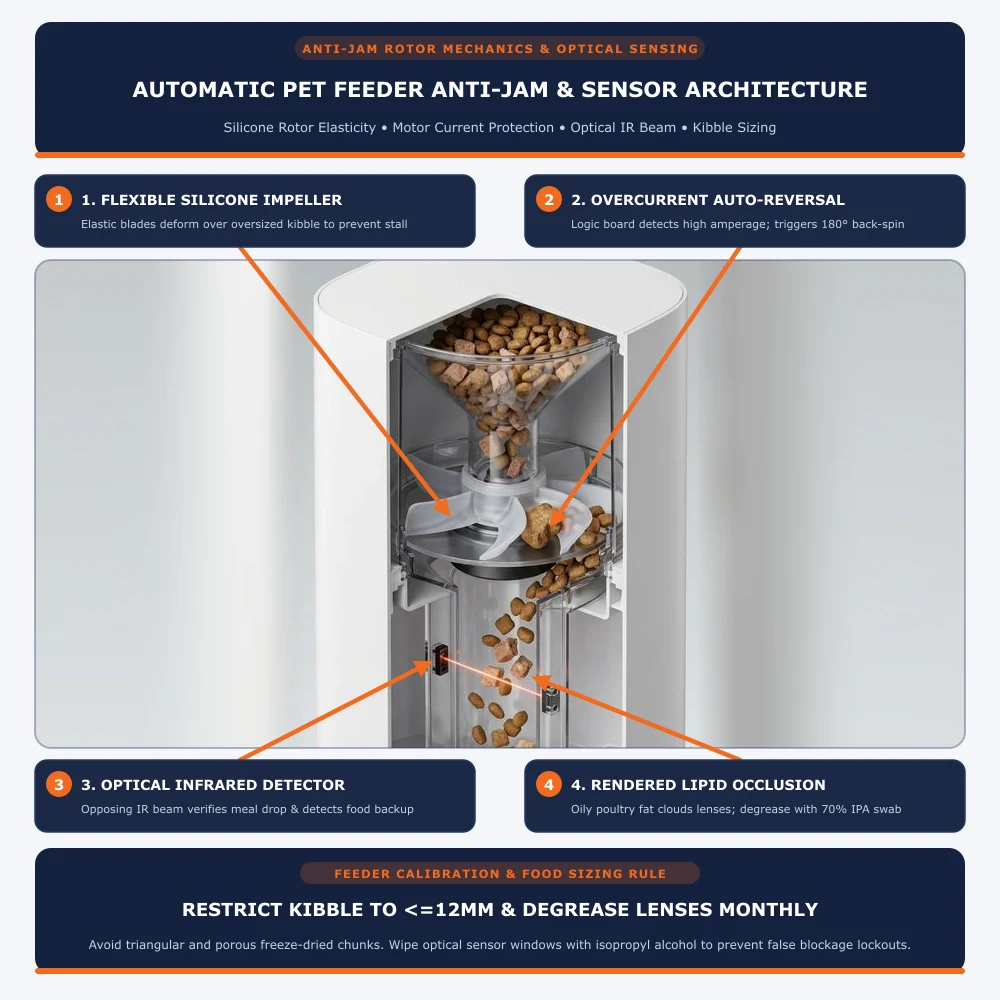
- Flexible Silicone Impeller: Positioned at the throat base, a multi-blade silicone rotor divides the chamber into metered volumetric pockets (typically 5 to 10 grams per rotation). The blades flex over slight resistance to prevent crushing food.
- DC Reduction Gearbox: Beneath the rotor sits a high-torque DC motor coupled to a reduction gear train (often a 100:1 ratio) to generate strong shear torque on low-voltage 5V USB or battery power.
- Optical Infrared Dispense Sensors: An opposing infrared LED emitter and phototransistor receiver pair monitor the delivery chute. When falling kibble breaks the beam, the microcontroller verifies a successful meal. If the beam remains occluded—or if no food falls despite motor activation—the firmware triggers an error lockout to prevent motor burnout.
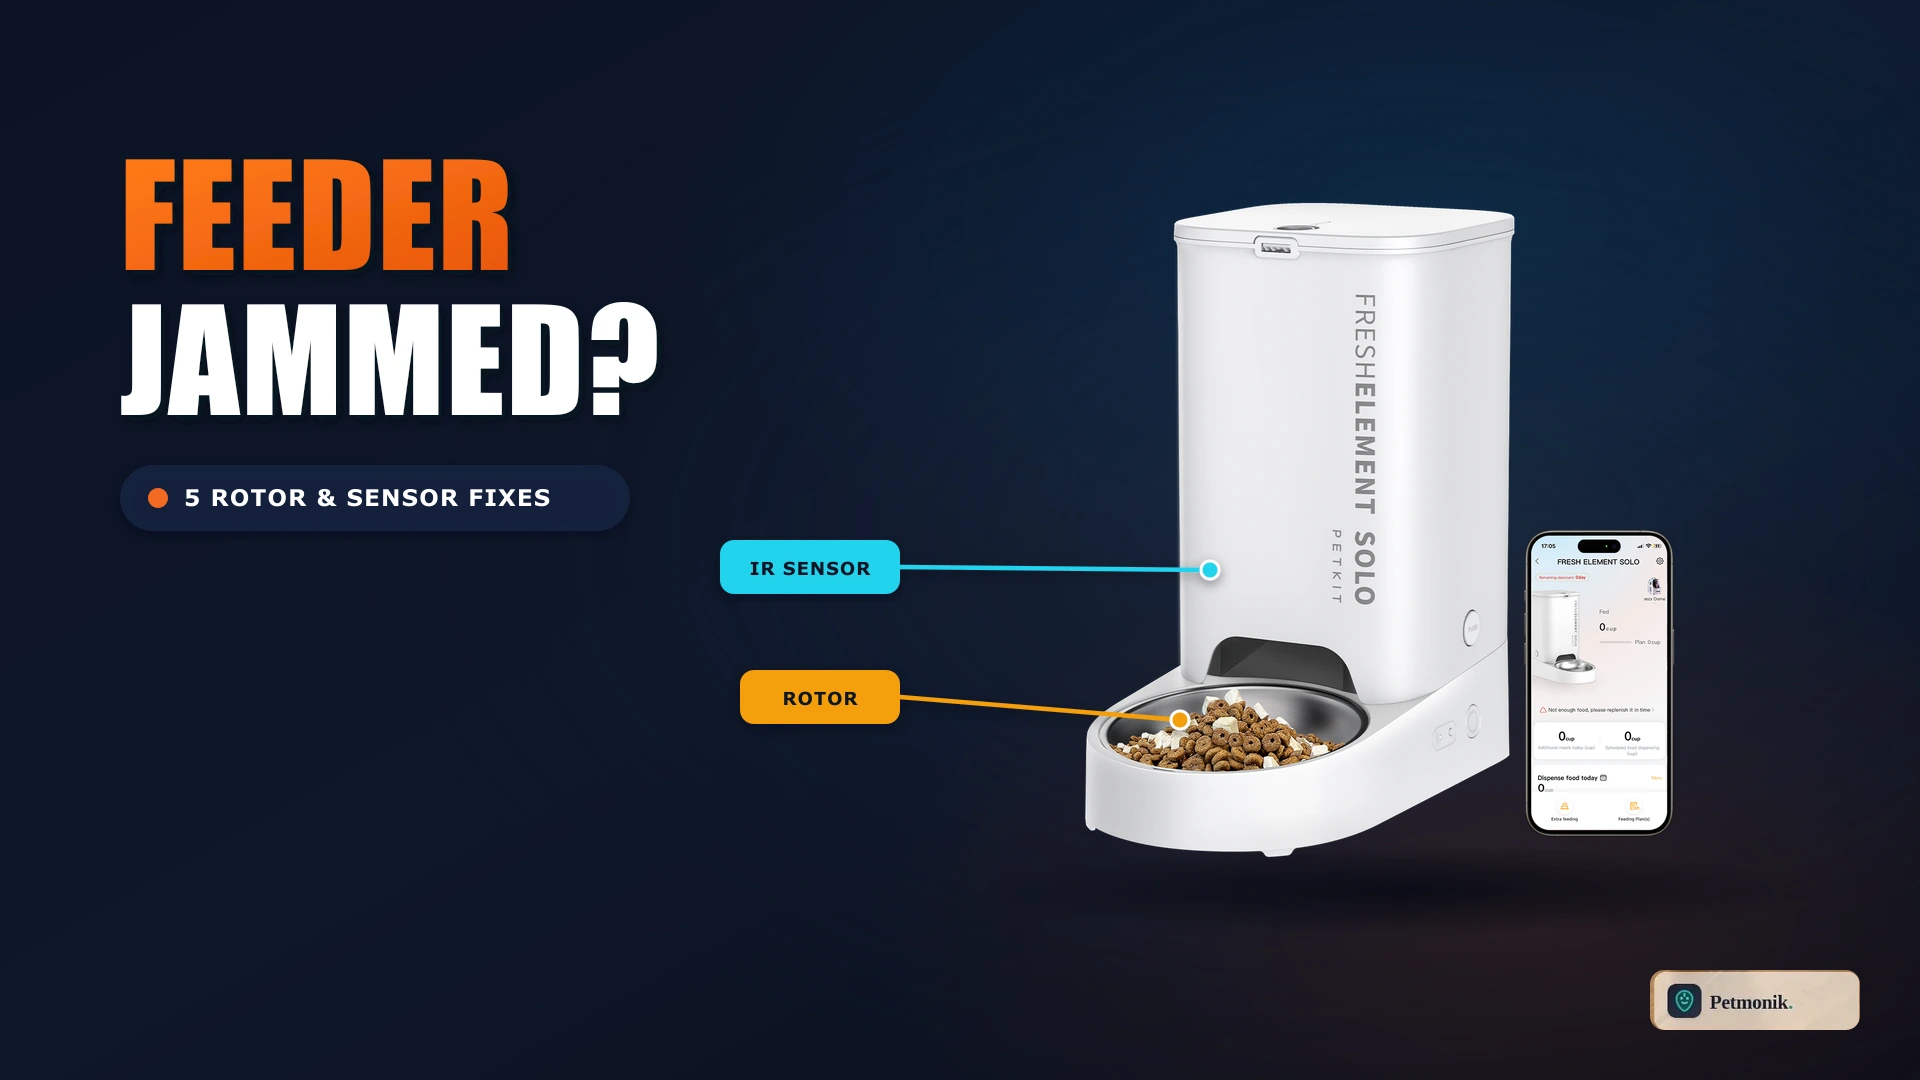
The Physics of Kibble Jamming: Granular Bridging & Aspect Ratios
Dry kibble behaves as a bulk granular solid subject to friction and mechanical interlocking rather than free-flowing liquid physics. When evaluating why you need an automatic pet feeder jamming fix, consider two primary mechanical behaviors:
1. Granular Bridging (The Dynamic Arch)
When irregularly shaped kibbles funnel into the hopper throat simultaneously, their contact facets can lock into a self-supporting structural arch. This arch sustains the downward weight of the food stack, suspending kibble above the impeller blades. While the rotor turns freely in an empty pocket underneath, no food falls into the bowl. Because the optical sensor detects zero passing particles, the app triggers a “Food Shortage” or “Dispensing Failure” alert despite a full reservoir.
2. Aspect Ratio and the 12mm Threshold
Most automatic feeders specify a kibble size limit between 2mm and 12mm. However, shape plays a much larger role than nominal diameter:
| Kibble Geometry | Jamming Susceptibility | Mechanical Behavior at Rotor Interface |
|---|---|---|
| Spherical & Cylindrical (5–8mm) | Very Low | Rolls smoothly across silicone blades; lowest frictional resistance. |
| Flat Disc & Button (8–12mm) | Moderate | Can stack flush against chute walls, occasionally sliding beneath blade tips. |
| Triangular, Star & X-Shapes | High | Sharp angular vertices interlock easily and wedge into the shear gap. |
| Freeze-Dried Chunks & Toppers | Extreme | Porous surface creates heavy friction; brittle edges shed fine binding dust. |
When an oversized or angular kibble enters the shear gap between the rotating silicone blade and the hard polycarbonate housing, the blade attempts to compress and slide past it. If the kibble’s yield strength exceeds the motor’s stall torque limit, the rotor stops instantly, causing an overcurrent protection cutoff on the logic board.
The Silent Culprit: Rendered Poultry Fat & Optical Sensor Occlusion
A common frustration among pet parents is the phantom jam—when the app reports a severe dispensing failure, yet opening the chute reveals zero physical kibble blockage. In this case, an effective automatic pet feeder jamming fix requires cleaning rather than mechanical unblocking.
During dry food manufacturing, baked kibble is sprayed with warm rendered fats (such as chicken fat, tallow, or fish oil) to boost palatability. Over weeks of daily dispensing, tumbling kibble leaves an invisible, sticky lipid coating inside the chute. Fine kibble dust adheres to this tacky layer, creating an opaque film over the transparent acrylic lenses guarding the infrared sensors.
Once this film attenuates the infrared light beam beyond the factory threshold, the firmware assumes food has backed up into the chute. As a protective fail-safe, the feeder halts all further automated cycles until the optical pathway is cleared.
Step-by-Step Automatic Pet Feeder Jamming Fix (5 Solutions)
If your smart feeder is flashing a red error light or reporting a motor stall, follow this systematic five-step automatic pet feeder jamming fix protocol. Never force the rotor to turn manually with a tool while the device is powered, as back-driving the motor can shear teeth off delicate nylon reduction gears.
Step 1: Isolate Power and Relieve Gearbox Tension
Unplug the 5V power adapter from the wall and toggle off the emergency battery backup switch underneath the chassis. Wait 30 seconds. Cutting power releases electromagnetic holding torque, easing tension across the gear train so wedged pieces can be freed safely.
Step 2: Empty the Hopper and Clear Granular Bridges
Lift off the hopper lid and pour the dry food into a clean bin. Look down into the throat. If kibble has formed a compressed bridge above the rotor, gently tap the side of the housing or use a wooden spoon handle to break the arch. Vacuum out loose crumbs and dust from the chamber.
Step 3: Remove and Wash the Silicone Rotor
Most modern smart feeders feature a quick-release impeller assembly. Detach the silicone rotor wheel and examine the blades for tears, curling, or hardened food glaze. Wash the silicone wheel, hopper base, and stainless bowl in warm water with mild dish soap to dissolve tacky fat residues. Ensure every part is completely dry before reassembly, as residual moisture turns dry kibble into thick sludge.
Step 4: Degrease the Optical Infrared Lenses
Locate the transparent emitter and detector windows positioned opposite each other inside the lower chute. Moisten a cotton swab with 70% isopropyl alcohol and gently polish both optical windows until clean. Dry with a fresh swab. This step resolves the vast majority of recurring phantom jams without requiring manufacturer replacement.
Step 5: Perform a Zero-Load Test Cycle
Reassemble the clean, empty feeder and restore AC power. Press the manual feed button on the front panel or trigger a portion through your app. Watch through the clear base as the rotor executes a complete 360-degree rotation. The motor should operate quietly without stuttering or throwing an error. Once verified, add a single cup of kibble and test again before refilling the reservoir. Review the Petlibro official support documentation or PETKIT device manual for model-specific button codes.
Dedicated Guide: Integrating Your Petmonik Smart Feeding Setup
Maintaining a reliable feeding routine requires every component of your smart pet ecosystem to work cohesively. Beyond an immediate automatic pet feeder jamming fix, explore our companion engineering breakdowns for related pet tech maintenance:
- Model-Specific Jam Fixes: If you are troubleshooting a PETKIT device specifically, read our dedicated walkthrough on PETKIT Feeder Not Dispensing Fix: Camera Jammed? 6 Quick Solutions for proprietary camera sensor resets.
- Handling Fragile Diets: Wondering how to feed raw meal toppers safely? Review our guide on Can You Put Freeze-Dried Raw Food in an Automatic Feeder? to prevent rotor binding caused by crumbly proteins, adhering to dietary sizing standards noted by the Pet Nutrition Alliance.
- Network vs. Hardware Faults: If your feeder missed a scheduled meal without any motor noise, check your Wi-Fi pairing with our Automatic Pet Feeder Offline Fix: 5 Steps to Reconnect.
- Power Outage Reliability: Ensure your feeder maintains enough motor torque during brownouts by checking our lab runtime test in Battery Backup in Smart Feeders: Exactly How Long Do They Last in a Power Outage?.
Summary Checklist: Preventing Future Smart Feeder Jams
- Sift Bag Crumbs: Avoid dumping powdered crumbs and broken kibble fragments from the bottom of the bag into your hopper.
- Respect the 12mm Limit: Stick to uniform, spherical or oval kibbles measuring under 12mm for feline dispensers.
- Monthly Sensor Polish: Swab the chute infrared lenses with isopropyl alcohol once every 30 days during regular tank cleaning.
- Rotate Desiccant Packs: Humid air softens dry kibble, making surface starches sticky. Replace silica gel packets every four weeks.
Frequently Asked Questions
Why does my automatic pet feeder say jammed when there is no food stuck?
This phantom jam error is caused by a greasy film of animal fat and kibble dust coating the internal infrared drop sensors inside the dispensing chute. When the sensor lens is obscured, the feeder assumes food is piled up and locks the motor. Cleaning the transparent optical windows with a cotton swab and 70% isopropyl alcohol is the most reliable automatic pet feeder jamming fix.
What size kibble is safe for automatic smart pet feeders?
Standard automatic pet feeders are engineered for uniform dry kibbles measuring between 5mm and 12mm in diameter. Spherical and cylindrical shapes flow with the lowest friction. Avoid flat disc shapes larger than 12mm, star or cross shapes with sharp vertices, and sticky or semi-moist foods, which quickly bind the silicone rotor blades.
Will manually turning the feeder rotor break the motor?
Yes. Forcing the silicone rotor by hand or with a tool while the feeder is assembled can strip the teeth off the small nylon reduction gears inside the motor gearbox. If you must dislodge trapped kibble, always disconnect power first, empty the hopper, and gently rock the rotor blade only a few millimeters back and forth.
Can freeze-dried raw food or meal toppers jam a smart feeder?
Yes. Freeze-dried meats are highly friable. As the agitator and rotor blades turn, they crush the freeze-dried chunks into fine powder that settles into the rotor axle hub. Over time, humidity turns this powder into a tacky paste that increases friction until the motor overcurrent sensor trips. Use dedicated freeze-dried-compatible feeders with reinforced augers or sift out fines before filling.